Device Info Tab: Difference between revisions
(translated into German) Tags: Reverted Visual edit |
Tag: Rollback |
||
| Line 2: | Line 2: | ||
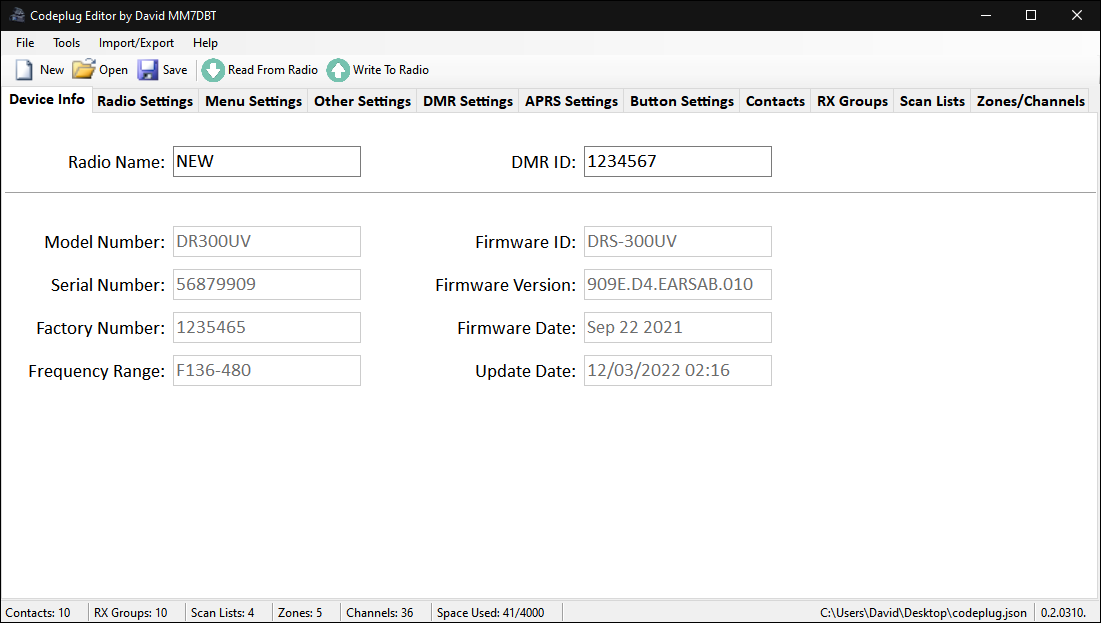
The Device Info tab is where you can enter the name of your radio, typically your callsign, as well as your DMR ID. | |||
You can also see the information about your radio such as the Model Number, Serial Number, Firmware Version and Date as well as the date that a codeplug was last written to the radio. | |||
Note that the Serial Number and Factory Number are not typically set to a unique value between radios. | |||
If you have multiple radios and would like them to have a unique Serial Number in order to tell them apart, you can edit those values. | |||
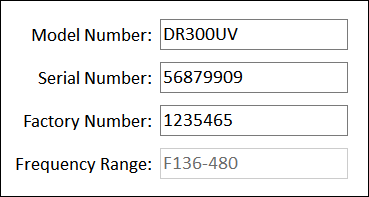
Do to this double-click on the label text. This will enable the text box for editing. | |||
You can do this for Model Number, Serial Number and Factory Number. The Frequency Range cannot yet be changed from within the codeplug. | |||
[[File:Modelserialfactory.png]] | [[File:Modelserialfactory.png]] | ||
Once you have finished editing the value you can save it by pressing the enter key on your keyboard, you must do this for each text box individually. | |||
Now when you upload the codeplug to the radio, these values will be saved to the radio so that the next time the codeplug is read from the radio the values that you have set will be displayed. | |||
Revision as of 01:44, 28 March 2022
The Device Info tab is where you can enter the name of your radio, typically your callsign, as well as your DMR ID.
You can also see the information about your radio such as the Model Number, Serial Number, Firmware Version and Date as well as the date that a codeplug was last written to the radio.
Note that the Serial Number and Factory Number are not typically set to a unique value between radios.
If you have multiple radios and would like them to have a unique Serial Number in order to tell them apart, you can edit those values.
Do to this double-click on the label text. This will enable the text box for editing.
You can do this for Model Number, Serial Number and Factory Number. The Frequency Range cannot yet be changed from within the codeplug.
Once you have finished editing the value you can save it by pressing the enter key on your keyboard, you must do this for each text box individually.
Now when you upload the codeplug to the radio, these values will be saved to the radio so that the next time the codeplug is read from the radio the values that you have set will be displayed.

